A well-detailed part design or footprint ensures the CNC machining process runs smoothly with minimal issues, costs less, and gives better outcomes. When Design for Manufacturability (DFM) is not given a priority or close attention, small oversights in the design can lead to severe consequences during manufacturing.
For this reason, the right direction and procedure awareness are fundamental. The way you design greatly affects how efficiently you machine it, regardless of the stage you are at. A few changes made during design can turn a complex part into an easy-to-machine item.
At Premium Parts, we collaborate with engineers, startups, and manufacturers to transform their ideas into CNC files. Suppliers save time and expense with us and can expect high-quality parts as a result. In this guide, we will share 07 DFM tips that can make your parts machined much more efficiently.
Consequences of Poor Design Choices
DFM doesn’t seem like a big deal at first until you see its impacts. Special cases such as difficult toolpath patterns, small dimensional changes, and hard-to-work materials can also give rise to:
- Longer machining times
- Higher expenses
- Weaknesses and malfunctions of the tools
- Part rework or removal
- Longer arrival time
Dealing with these challenges is annoying for machinists, costly for project managers, and time-consuming for product teams.
DFM focuses on aligning the design with real manufacturing capabilities. A well-optimized design helps meet deadlines, control costs, ensure smooth production, and get parts right the first time without unnecessary rework or delays.
Tip #1: Keep Geometry Simple, But Functional
It’s easy to believe that innovation means adding a lot of fancy details and complicated shapes. Simpler designs usually bring the best results in the world of CNC machining.
Why? Because of simpler geometry.
- Reduces the difficulty of generating pathways for machined tools
- Reduces the hours it takes to produce parts
- Makes it less likely that the end mill will break or bend
- Reduced total expenses
While CAD makes it easy to design hard-to-machine areas, they end up being tough or costly to produce during machining. Any additional movement required by a tool when facing small or odd locations increases the job’s risk and duration.
Instead, you should ask: Does this feature improve the product’s functionality? Is it more about dressing up a framework or improving mission-critical parts?
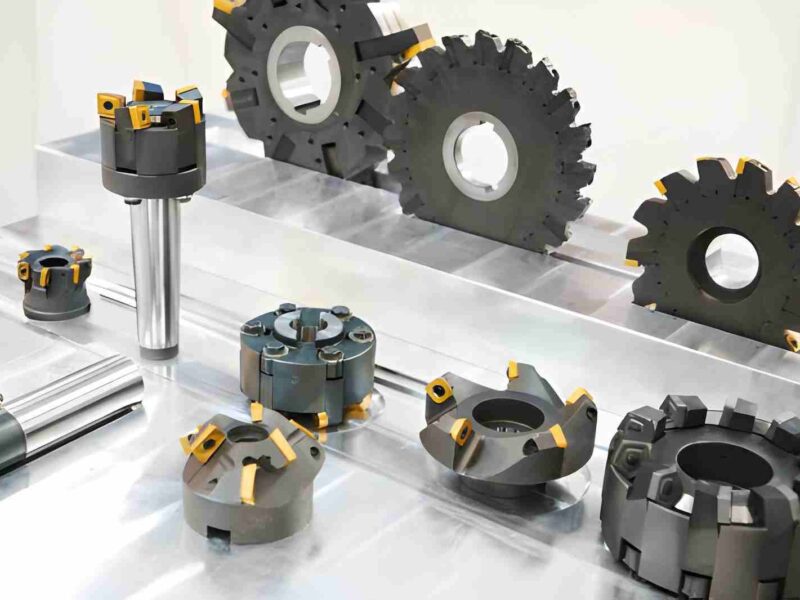
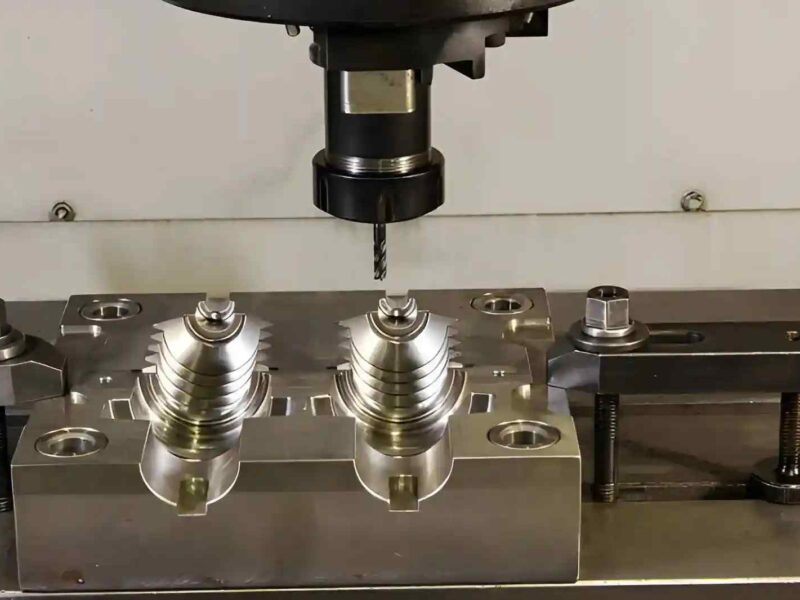
Tip #02: Mission Critical Tool Access in Mind
Access to the right tools is a frequent problem in CNC machining. If a tool nods towards a feature rather than reaching it, it cannot be machined unless using costly multi-axis systems.
Try to keep in mind narrow but long spaces with intricate corners. They need to be made with special tools or processed in more than one step, which takes longer an,d is more expensive. Difficulties with tool access may sometimes result in designs being turned down.
- Avoid deep cavities with narrow openings.
- Leave the internal corners at a curve instead of making them a 90° angle
- Don’t build your walls too high; unsupported tall walls can flex during the cutting process.
- Try to create open features rather than building features that are hidden beneath the ground.
Adjusting your design by just a little can cut down your setup and machining time. If it’s unclear whether your motorhome design ensures easy access to tools, we’re always here to help you check. Premium Parts’ engineering team responds quickly to your designs to ensure your parts are easily fabricated and do the intended job.
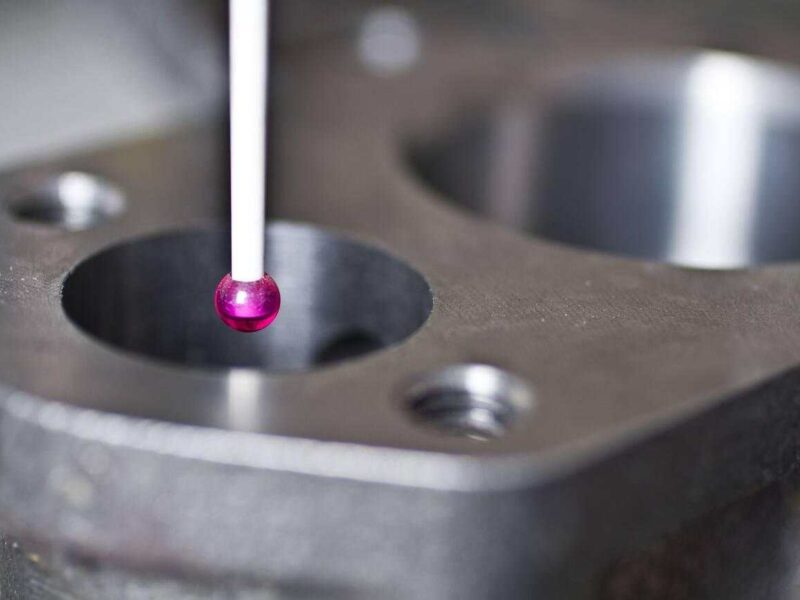
Tip #3: Mind Your Tolerances, Don’t Over-Spec
While design tolerances play a key role in the performance of a part, they’re often misunderstood by those using CNC systems. Tighter tolerances than are needed not only cost more, but they also make the whole manufacturing operation more difficult.
Tighter standards call for slow speeds during machining, more frequent quality checks, and the use of customized tools. That’s why you should avoid them when you can and only use them when necessary.
For example:
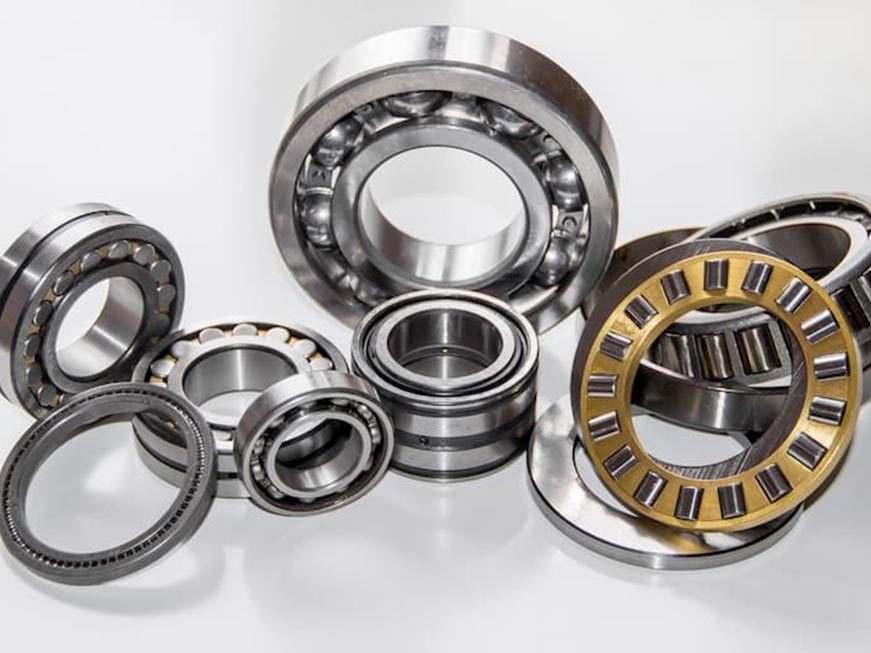
- Do the critical bearings fit? Use close tolerances in your design.
- Non-mating aesthetic surfaces? Maintain a standard tolerance.
Giving very small tolerances everywhere on a part will only lead to expensive, unnecessary results. Instead, ask yourself: what places really demand accurate action?
Tip #4: Choose Machinable Materials
Choosing what material to work with alters everything from tool wear to the appearance of your product, how fast production happens, and the price. Working with materials that are difficult to machine in the design process can sometimes cause the process to run into delays and extra expenses for making the part.
Some materials, such as aluminum, can be shaped easily on machines and used for both prototypes and final products. While titanium or stainless steel is tough and corrosion-free. Machine operation on them is a slow and costly procedure. Delrin or ABS are easier to cut; however, they expand often when warmed.
Remember to consider these things when you are choosing which material to use:
- Rating for ease of machine operation
- How easy it is to get and how much you have to pay
- Strong and good thermal properties
- Requirements for finishing on the surface
Tip #5: Consider Fixturing and Setup Early
Many times, we pay too much attention to the part itself and not enough to fix it onto the tool before processing. How parts are held and oriented in the machine during production makes a big difference in their ease of machining.
Complex shapes, requiring many setups and repeating movements, take more time to machine. Human error is also plausible. Every added setup adds a cost to production.
Thinking about fixturing at the design stage helps to avoid:
- Loose Clamps
- Several reorientations
- The risk of vibration, chatter, or misalignment
Use a standard rule: craft your parts to be machined using one or two vices or jaws. Smart orientation, flat areas, and parallel sides can make a big difference.
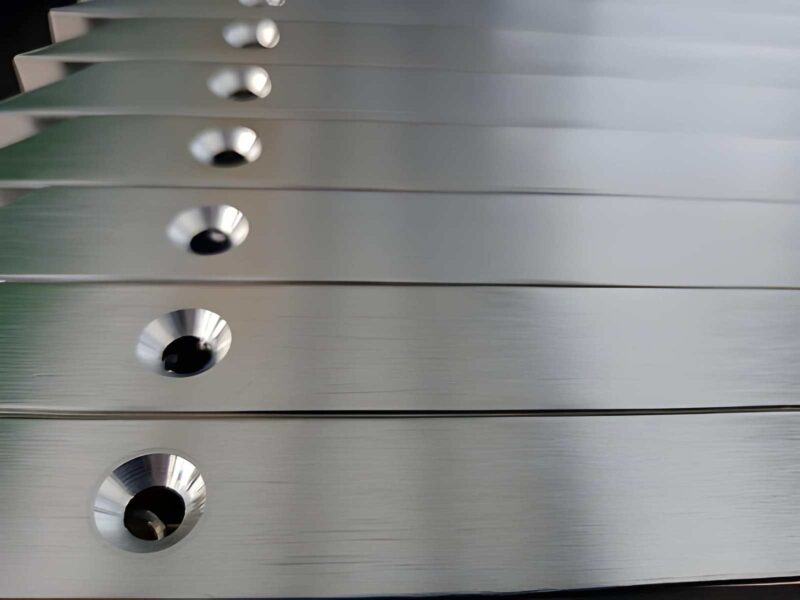
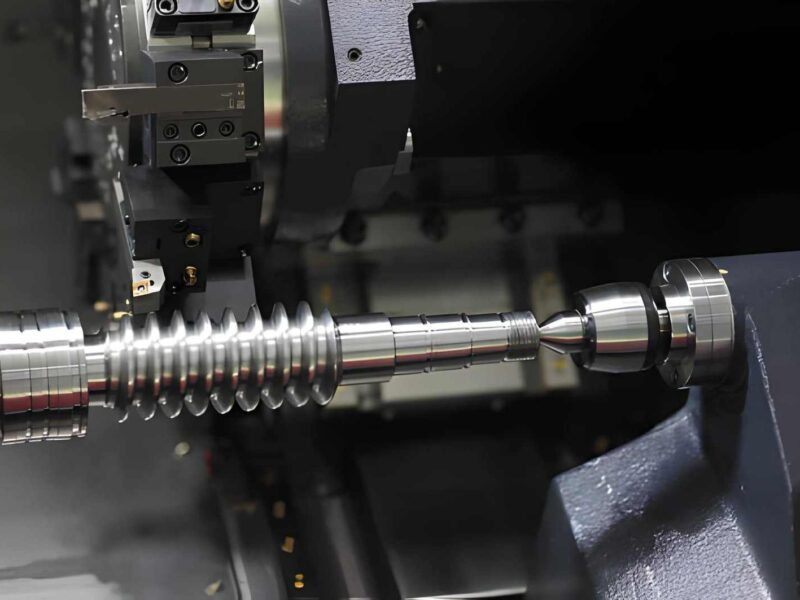
Tip #6: Avoid Deep Cavities and Thin Walls
It is challenging to cut deep and thin areas when using CNC machining. If your machining features are either too deep or too thin, even high-grade tools can still bend, vibrate, and ruin the piece.
Using deep-reaching tools makes it easier for vibration to occur and be less accurate. When cutting is performed, the thin walls on the model may warp or flex, which lowers how precisely the model can be made.
- By keeping cavity depth close to 4 times less than the tool diameter, you can produce better results.
- Wall thickness should be kept at 1mm for metals (higher for plastics)
- Stay away from features that stand alone and can collapse
Improving the structural integrity of your components prepares them for easier machining, reducing the risk of defects and streamlining the machining process.
At Premium Parts, when we identify hidden details or weak structural areas in an architectural design, we collaborate with clients to find ways to enhance quality, functionality, and the construction of the machine. A few minutes of design review from our team at Premium Parts is enough to give you useful feedback on improving your part’s design.
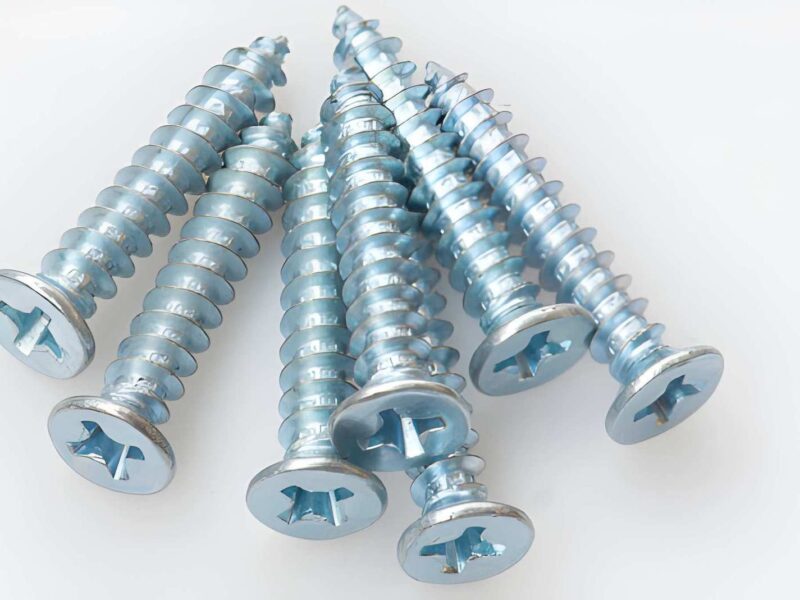
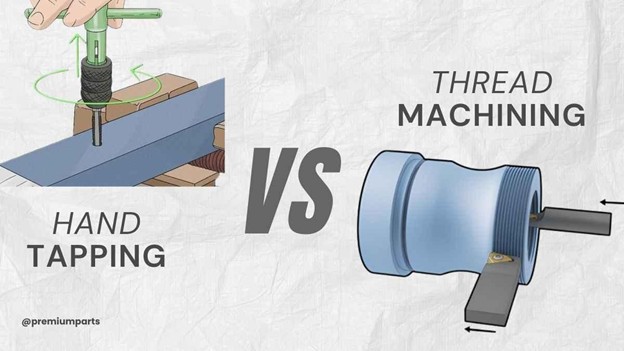
Tip #7: Integrate Standard Features When Possible
If parts use standard dimensions, threads, and hole sizes, CNC machining can be made much easier. Why? Since typical features are built for using off-the-shelf tools and applying tested machining plans.
If users decide on unique threads, hole diameters, or shapes, machinists are of, ten forced to pause their work to get the right tools or update the CAM programs. That adds up – both in time and cost.
Examples of tasks that can be standardized are:
- Choose hole diameters that are the same size as standard drill bits (such as 3mm, 6mm, and 10mm)
- It’s best to work with standard sizes for threads such as M6 and M8 or ¼-20 UNC
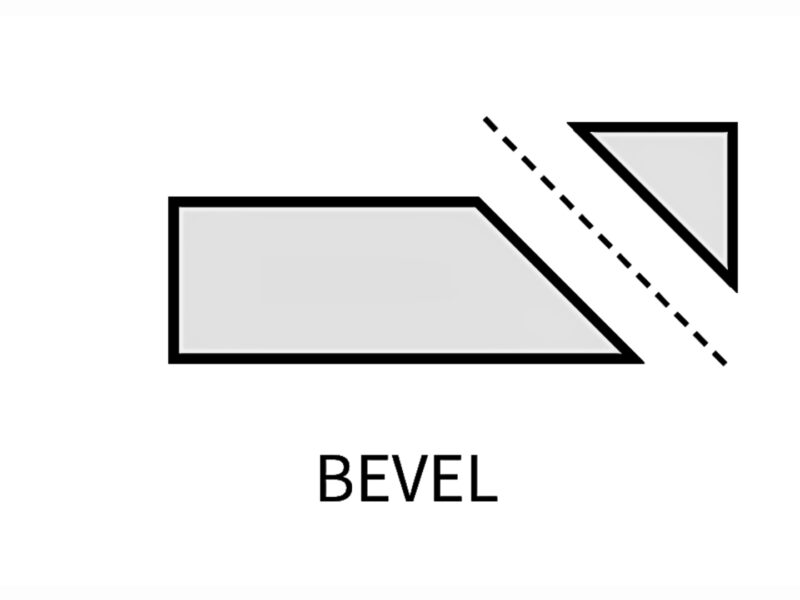
- Try to select chamfers and radii that are the same as or close to common end mill sizes, so you can use standard tools
When your design fits with traditional machining standards, it is possible to make it more reliable and with greater speed. Experts can make simple adjustments to the design to help bring any parts into the tooling specifications. Most of these changes do not affect performance, not around time much more efficient.
Common CNC Mistakes That Designers Make
It’s possible for even the most experienced designers to make a few typical mistakes when preparing parts for CNC machining. If you watch for these issues early, you’ll avoid the stress and delays that could come later with expensive updates.
Among the mistakes we spot most frequently in CNC design are these:
- Producing parts that are strictly over the tolerance levels makes the finished product expensive
- Internal corners that standard end mills can’t cut
- Forgetting to use tools, producing features that are either unreachable or hidden
- Thin-wall material, leading to deflection or chatter
- No thought to fixturing; machining is hard because it’s impossible to clamp everything cleanly or work it securely.
You don’t need to change your whole design to avoid these problems; a little guidance is all it takes. It’s important to check your design using our DFM checklist before final approval:
- Are my tolerances included because they are necessary and useful, and have I placed them in the correct location?
- Can the tools go to every feature safely, without bumping into each other?
- Is the material I’m using appropriate for machining?
- Did I use widely available sizes and shapes when building my model?.
Premium Parts’ Approach to DFM Collaboration
Here at Premium Parts, we are not just limited to printing what’s in your files right away. We start by emphasizing collaboration, so communication and transparency guide the work from design to production.
Here’s how we help customers achieve better machinability without lowering the performance of their parts.
- Design Feedback: While preparing a quote, we examine your part to find if there are awkward shapes, features that can’t be accessed, or if the tolerances are too m, much.
- Collaborative Adjustments: When we come across a chance to enhance a part, we will advise on simple design changes that still allow the item to function properly but make it simpler to build.
- Proactive Support: If you’re sending a test or many manufactured parts, we follow your progress all the way to secure a successful outcome.
We want to help you produce machine-ready parts from the very beginning. There’s no drama or uncertainty; we always produce and provide reliable CNC parts on schedule.
But if you’re in the early days of development? It’s exactly the right moment to start working with us.
Conclusion
Design for Manufacturability (DFM) isn’t just about following rules. It needs a practical mindset that thinks about real factory conditions. When you optimize parts for CNC machining, you can save money, shorten waiting times, and improve how your products are made. Most importantly, you will not have to sacrifice performance to get there.
Following each design tip, from simplifying geometry to using common features, improves your ability to make quality parts the next day. What’s more, if you’re unsure about something, you have someone to turn to.
When you come to Premium Parts, we provide quick, truthful, and professional help to get your design into production. Regardless of whether you’re completing an early test or getting ready to work on full production, we are here to help your parts get ready for production.
Ready to get input on a design you’ve created?
Contact our engineers. They will give you fast and helpful feedback to ensure you succeed with machining.