Measurement of Steel Ball Bearing by a Precise Analog Caliper
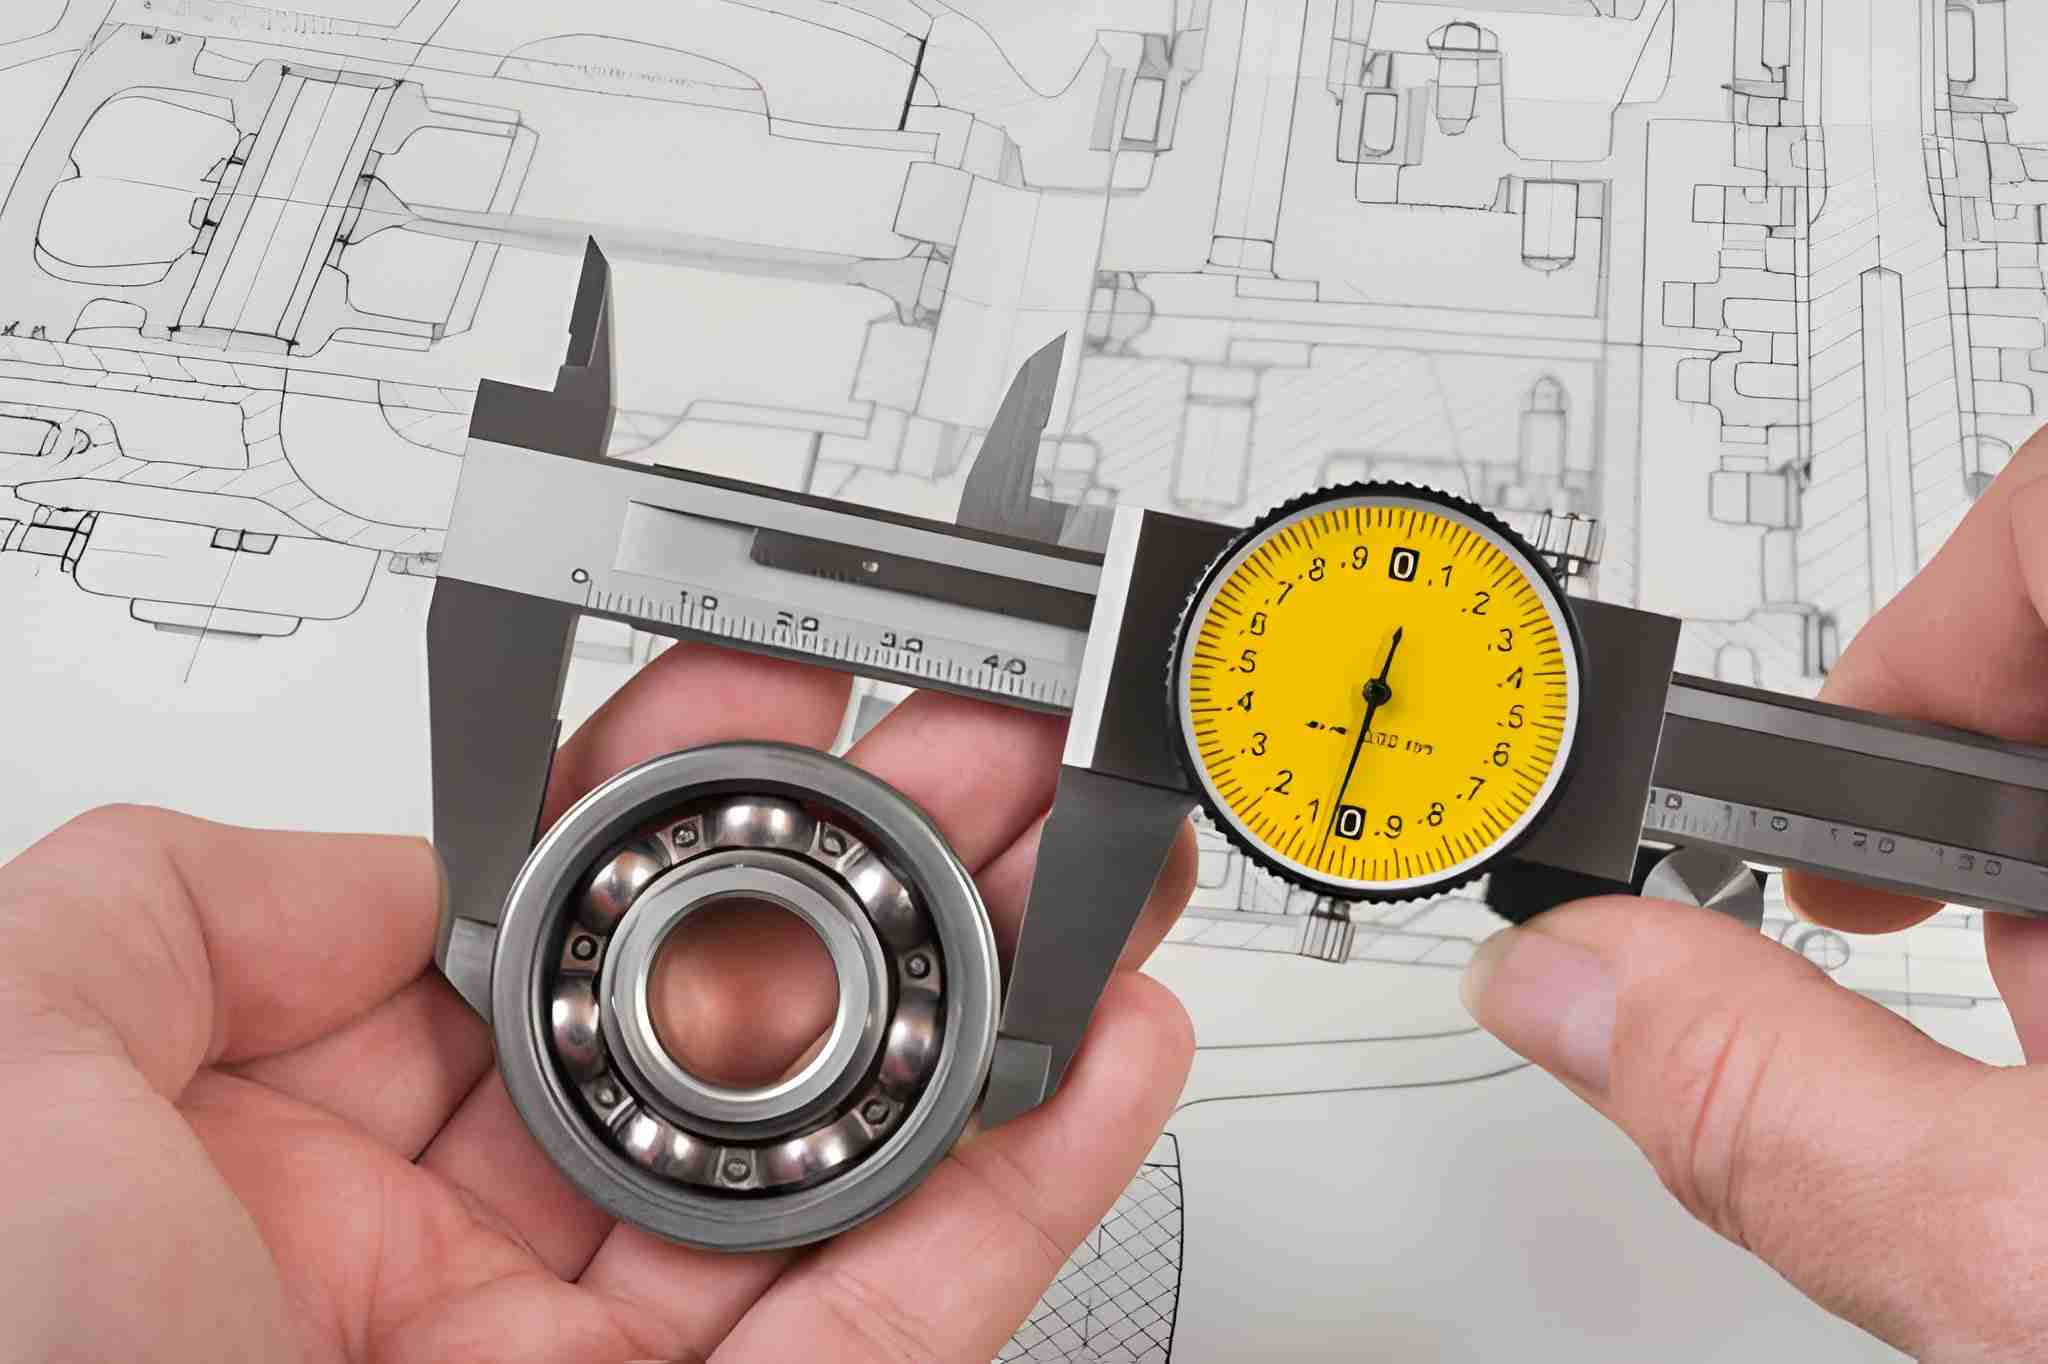
Image Description: The image shows a precise analog caliper being used to measure the diameter of a steel ball bearing. The caliper jaws are gently positioned around the ball, and the measurement reading is visible on the analog scale.
Machining tolerance refers to the acceptable deviations from the original or specified dimensions of a part design. In simpler terms, it is how much more or how much less a part may differ from the intended dimensions, and still function acceptably. Generally, tolerances are dependent on a number of factors. Deviations may also affect other mechanical factors, which will not be discussed in-depth in this article. Read on to learn more about machine tolerances.
Why are tolerances important?
Importance of Tolerance in Machining Parts
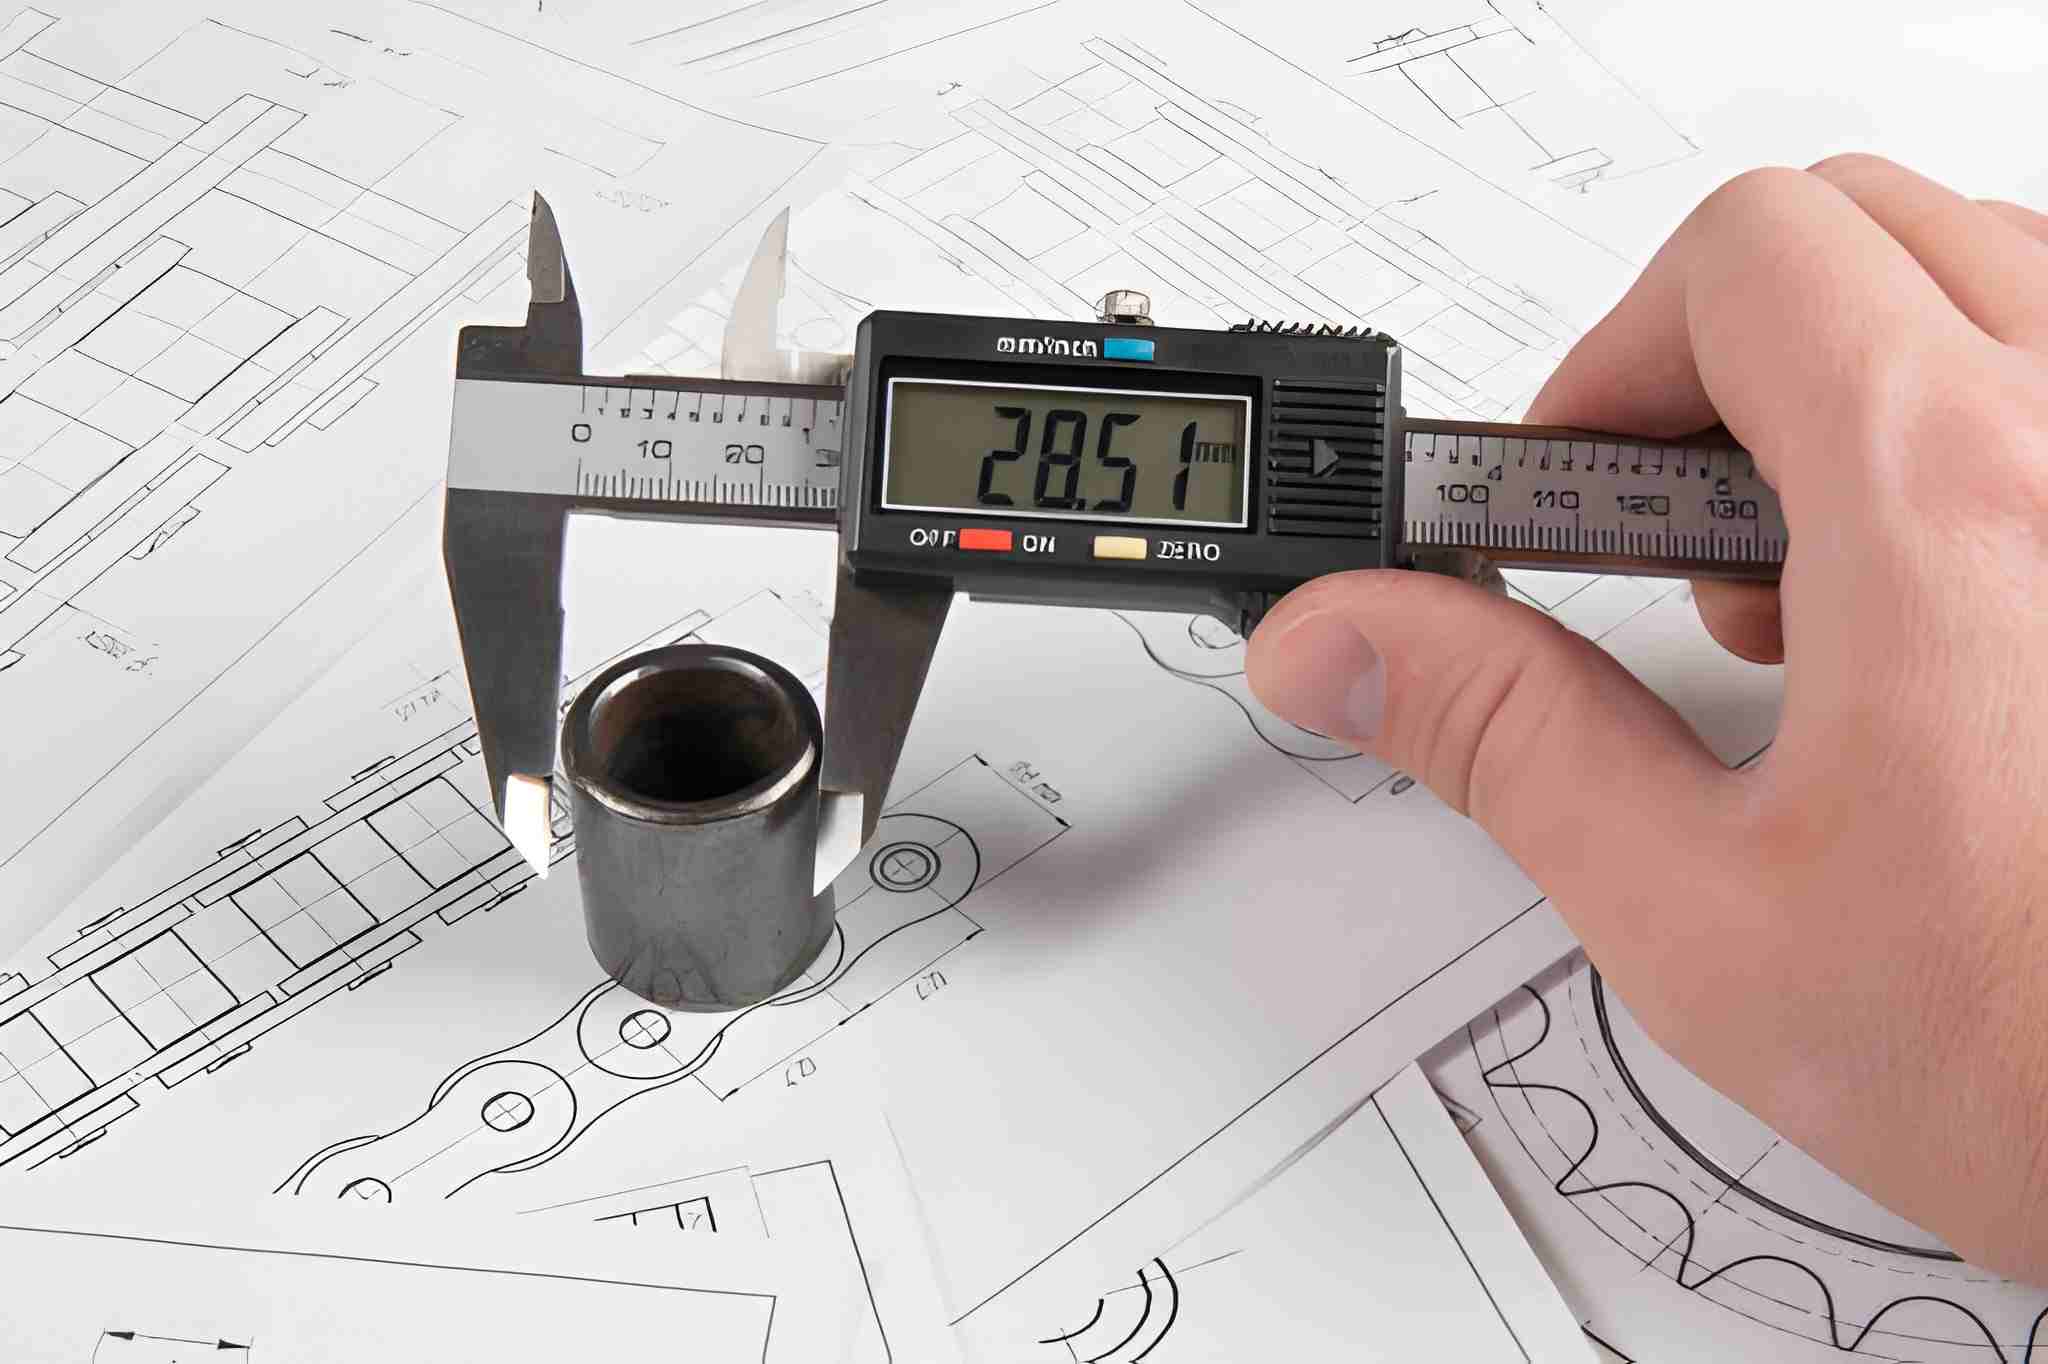
Image Description: The image shows an engineer measuring a machined metal part with a precision instrument to check its dimensional accuracy.
Tolerances are important for measurements and standardization. It provides the theoretical basis for evaluating the deviation of a part from specifications. Standard tolerances also help to shorten machine time when working with standard parts and promote a cost-effective way to manufacture parts.
If a part will still work and function when machined within a tolerance range, then it can save the machinists and ordering company lots of money that may be incurred when obsessing over dimensional perfection.
What factors influence tolerances?
Several considerations come into determining the tolerances needed by a machine part. These factors include but is not limited to:
- Application
The end use of the machined part determines the need for tight or standard tolerances.
- Material
The ease of machining the material and the material type itself affect tolerances.
- Leadtime
Jobs with quick delivery timelines may not obsess over tight tolerances.
- Design
The design of the part to be machined can affect what type of tolerances must be met for the part.
- Cost
Tighter tolerances demand higher costs of machining.
Key terms in machining tolerances
Understanding machining tolerance fit means having a basic understanding of tolerance concepts and terms. Here are a couple of other terms for machining tolerances:
- Actual size
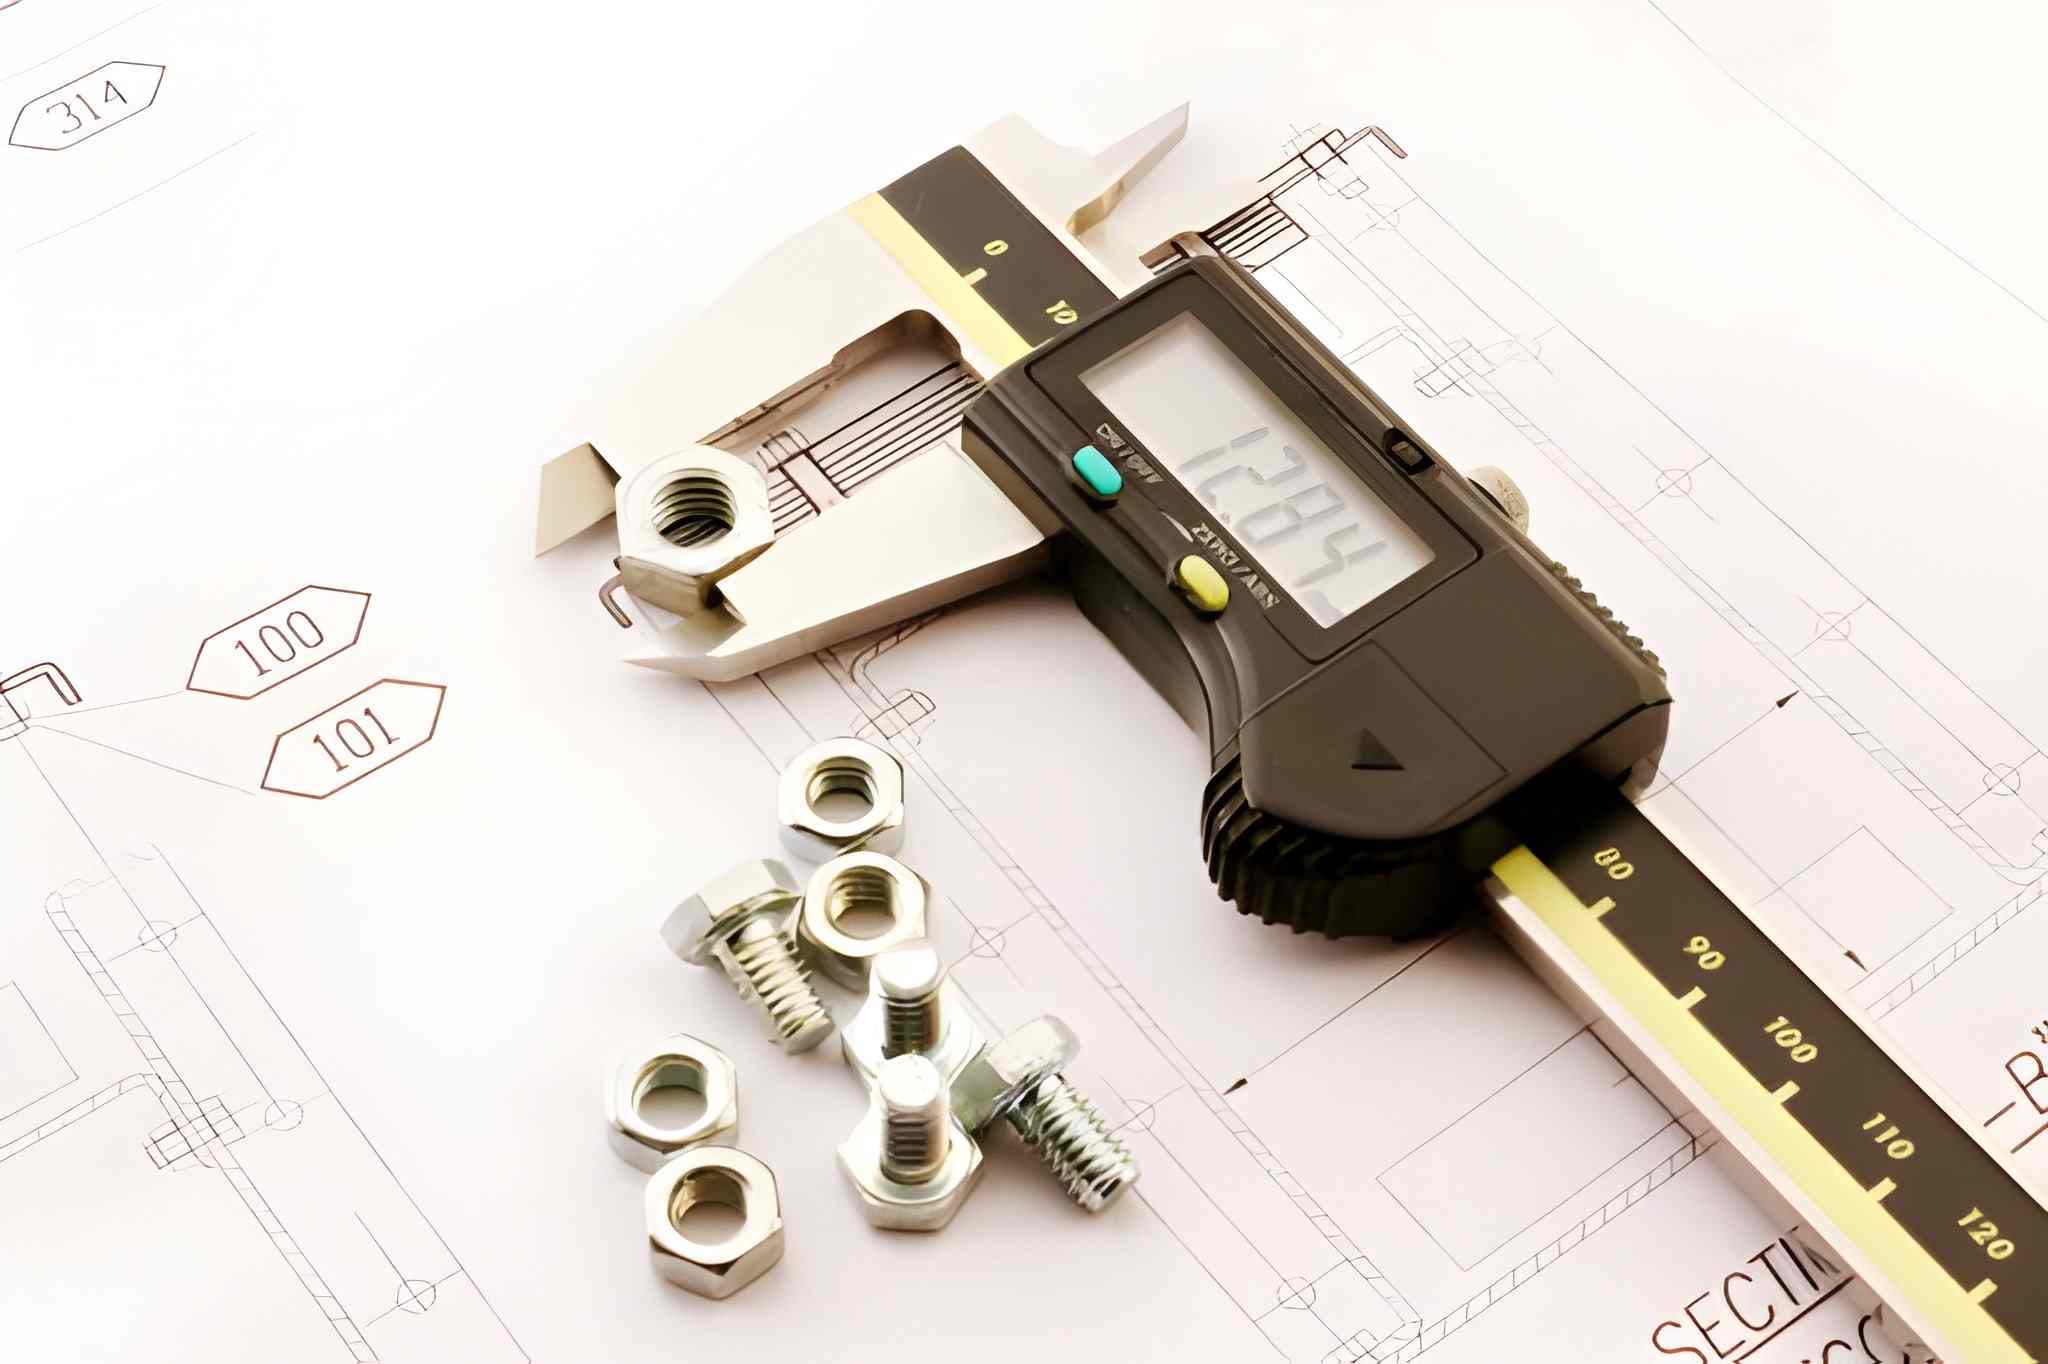
Annual Caliper Measuring Screw Size for fitting
Image Description: The image shows a technician using a manual caliper to measure the size of a screw for proper fitment.
This is the actual size of the machined part obtained by measuring the part.
- Design size
This refers to the size and geometric dimensions given in the design file.
- Limit size
These represent the upper and lower value limits of a part, which allows the part size to change within these limits.
- Dimension deviation
This is the mathematical difference between the size of a part and its design size.
- Zero line
The zero line is a reference straight line that helps determine the amount of deviation in a tolerance and fit diagram. It is like a central reference point corresponding to the specified design dimensions.
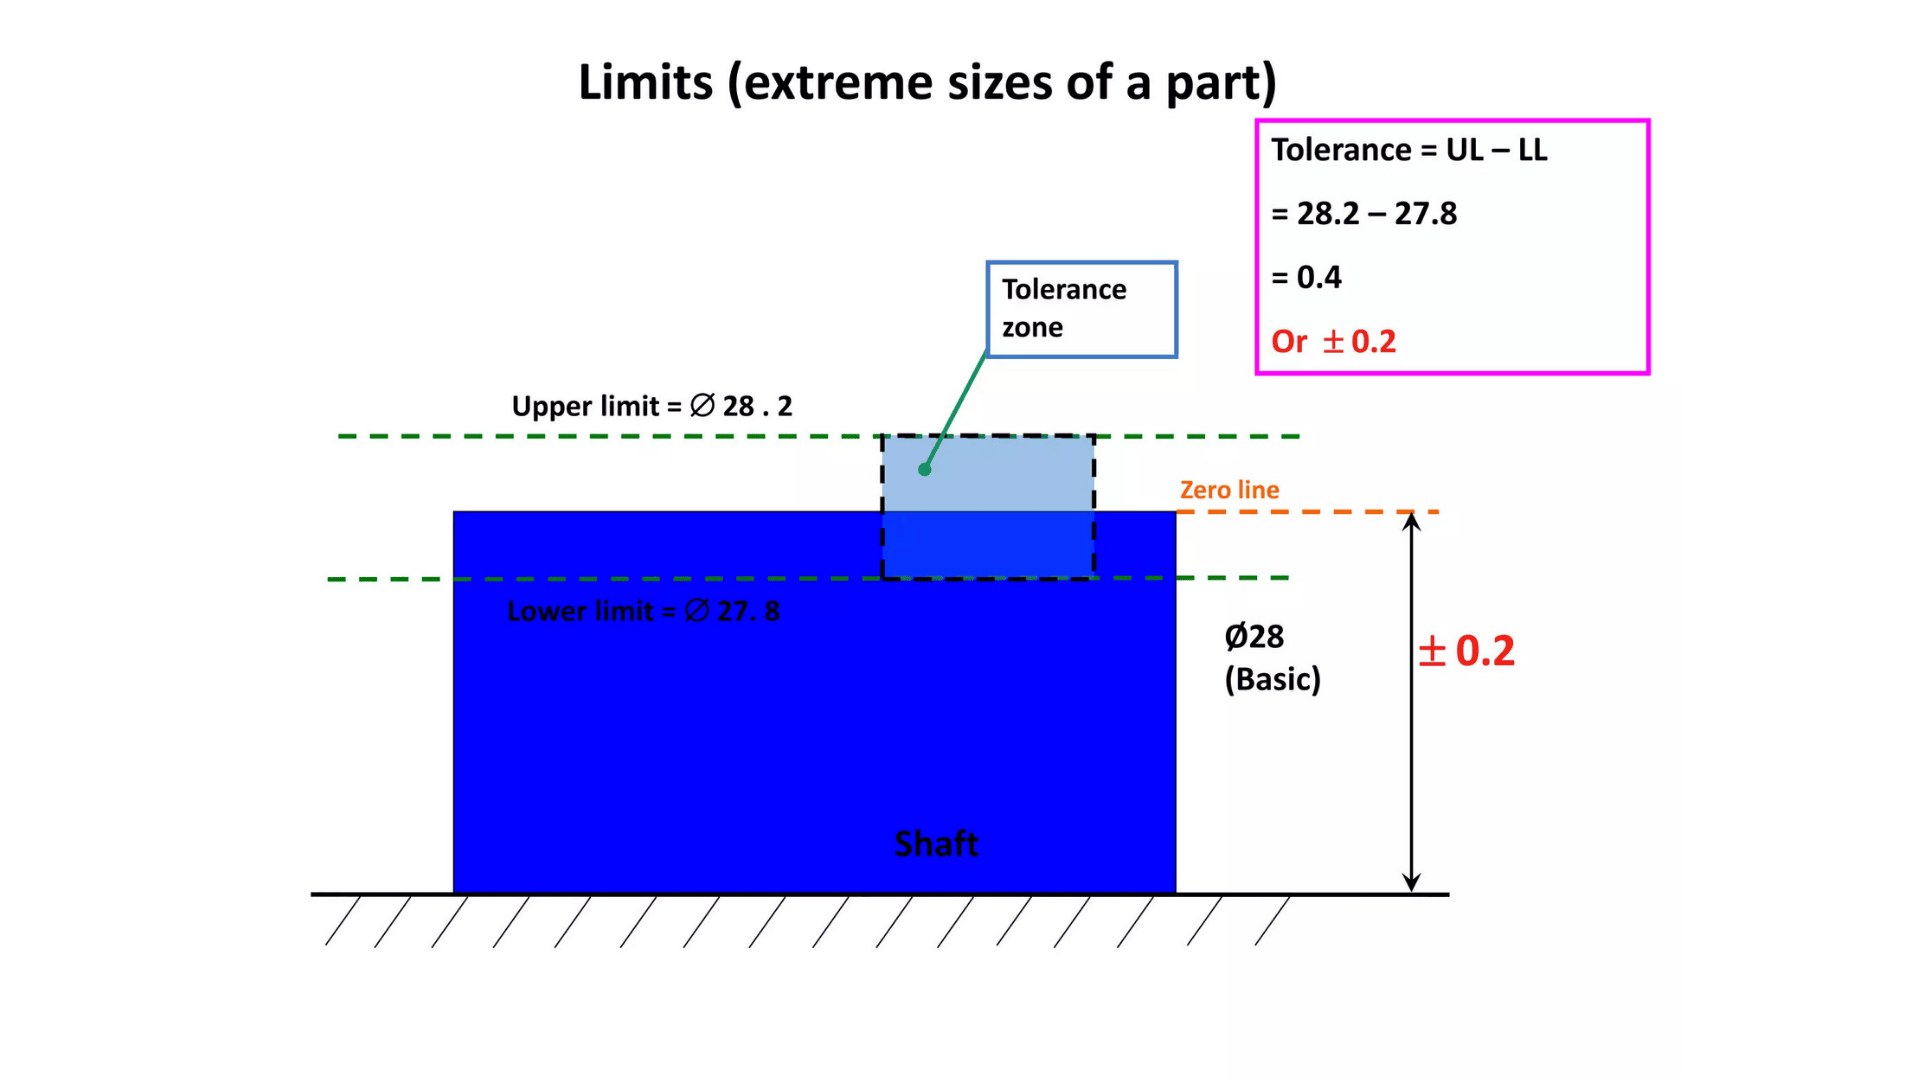
Zero Line In Tolerance
Image Description: The image is an illustration diagram showing the concept of the zero line in tolerance. It visually represents the nominal dimension, upper and lower deviation limits, and how actual measurements vary around the zero reference line in engineering drawings.
- Dimension tolerance
This is the allowance variation from specifications. Simply put, this is the tolerance itself.
- Tolerance zone
This area is defined by two straight lines, representing the upper and lower deviations of a part in the tolerance zone diagram
- Standard tolerance
The national/benchmark specified tolerance of a manufacturing process. It determines the size of the tolerance and acceptable deviation.
- Basic deviation
This is the deviation of the tolerance zone from the zero line. It may be classified as lower or upper deviation. The basic deviation can be upper when the deviation is below the zero line, and lower when the tolerance zone is above the zero line.
What are the effects of geometric deviations?
Tolerances serve to guide the machinist on how little or how much acceptable geometrical difference a project can accommodate. When machinists produce parts outside the dimensions and specified tolerances, here are some of the consequences that may ensue:
- Fitting
Machined parts may not fit with other parts or accessories for which they have been designed. This can cause a lot of arrangement and assembly issues in a product design.
- Cosmetic defects
Parts that exceed geometrical and tolerance specifications may look very different from the initial design file.
- Performance
For machine components where tight tolerances and geometrical accuracy is critical, machined parts may fail in performance and functionality, even if they fit every other quality control metric.
Getting tighter tolerances
Tolerance levels have a direct correlation with cost. This is due to the time and effort required to machine parts to a particular dimension with 99% accuracy. Generally, the tighter the tolerance, the higher the cost of the part. However, tight tolerances should only be used when necessary and when crucial to the usability and performance of your part.


